I spent three weekends and about $300 building a mechanical keyboard. My wife thought I was having a midlife crisis. My daughter just wanted to know if she could pick the colors. What I got was a keyboard that sounds like a popcorn machine and a new appreciation for how much I did not know about... foam.
The Kit
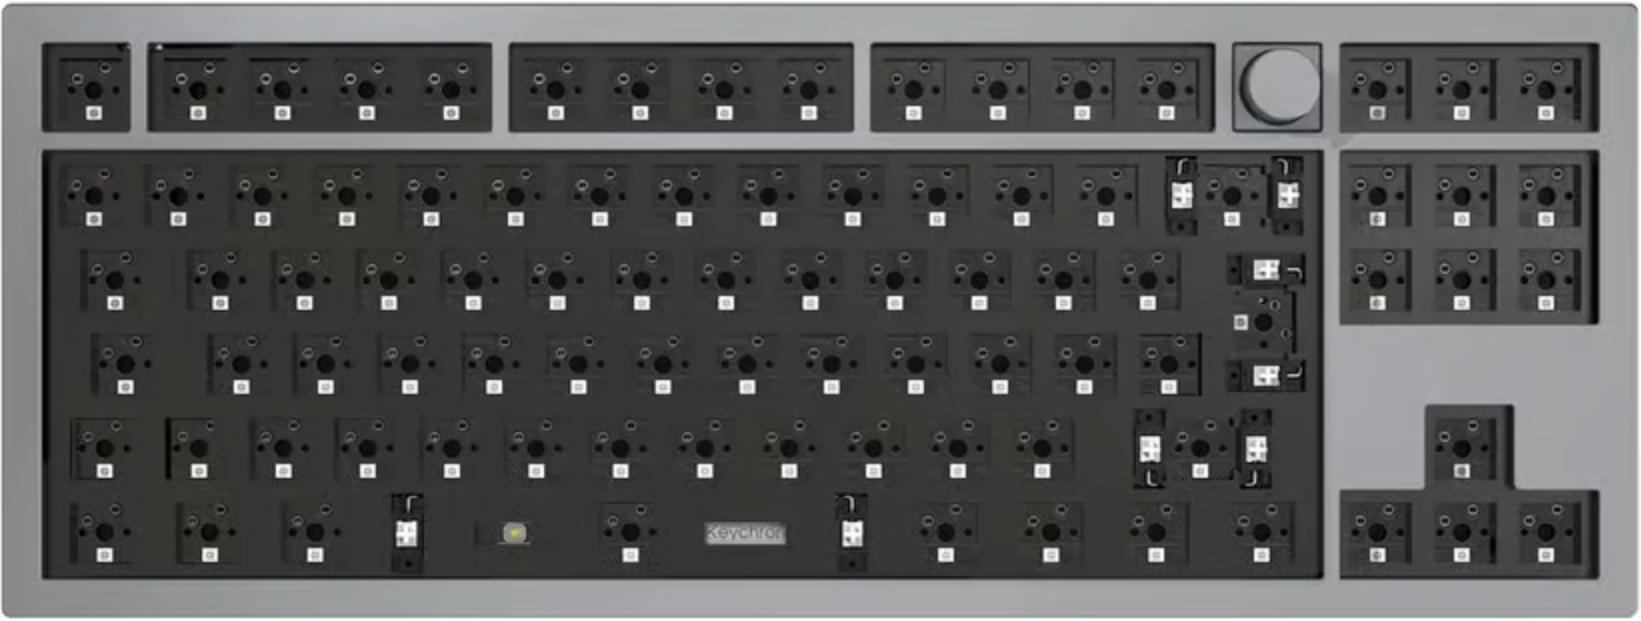
I started with the Keychron Q3 barebone kit. Aluminum body, QMK firmware support, hot-swap PCB. It seemed like a safe entry point into custom keyboards. Not too expensive, not too cheap, plenty of documentation online for when I inevitably messed something up.
The aluminum body is heavy. Like, surprisingly heavy. I didn't expect to be doing bicep curls with my keyboard but here we are.
Choosing Switches (The $15 Mistake That Saved Me $100)
I almost bought Cherry MX Browns because that is what everyone recommends to beginners. Then I found a $15 switch tester with 12 different switches and realized I hated Browns. They felt like scratchy linear switches pretending to be tactile.
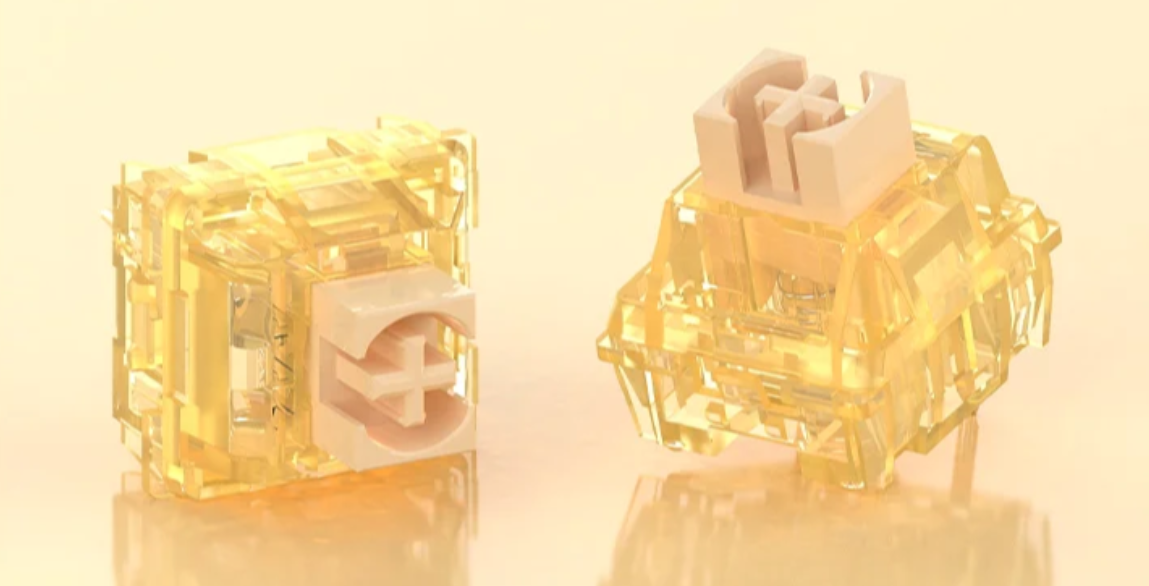
The Ajazz AS Yellow 101 Tactile switches won instead. Decent bump without the auditory assault of clicky switches. Factory-lubed, which saved me from having to do it myself (though I probably will eventually, just to see what happens).
If you're doing this, buy a tester first. Descriptions like tactile vs linear mean basically nothing until you feel them yourself.
Keycap Shopping with a Six-Year-Old
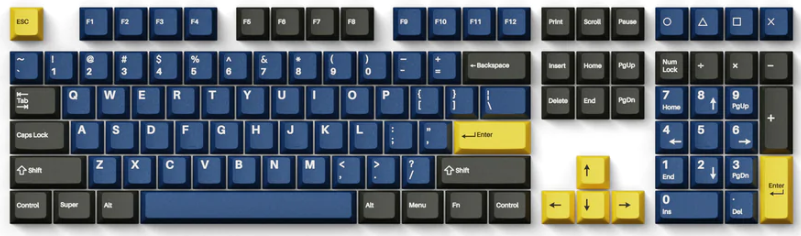
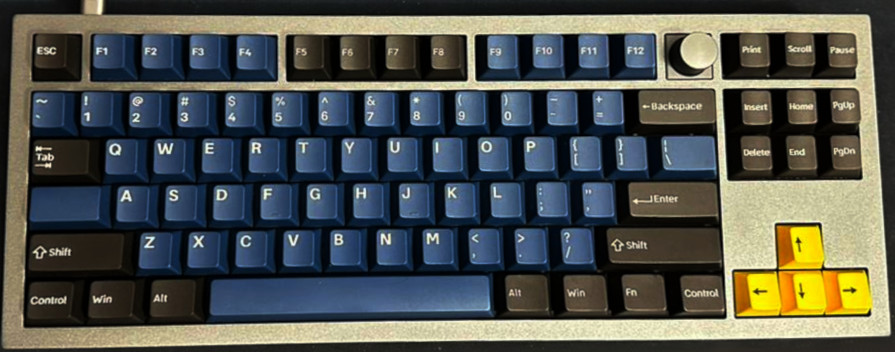
I wanted something that would not show grease stains after three months of use. The Keychron Cherry Profile Double-Shot PBT set in Royal (dark blue with gold legends) seemed like a safe bet.
My daughter approved of the colors, which was apparently the deciding factor. At least someone in this house knows what they want.
Where I Completely Misunderstood Foam

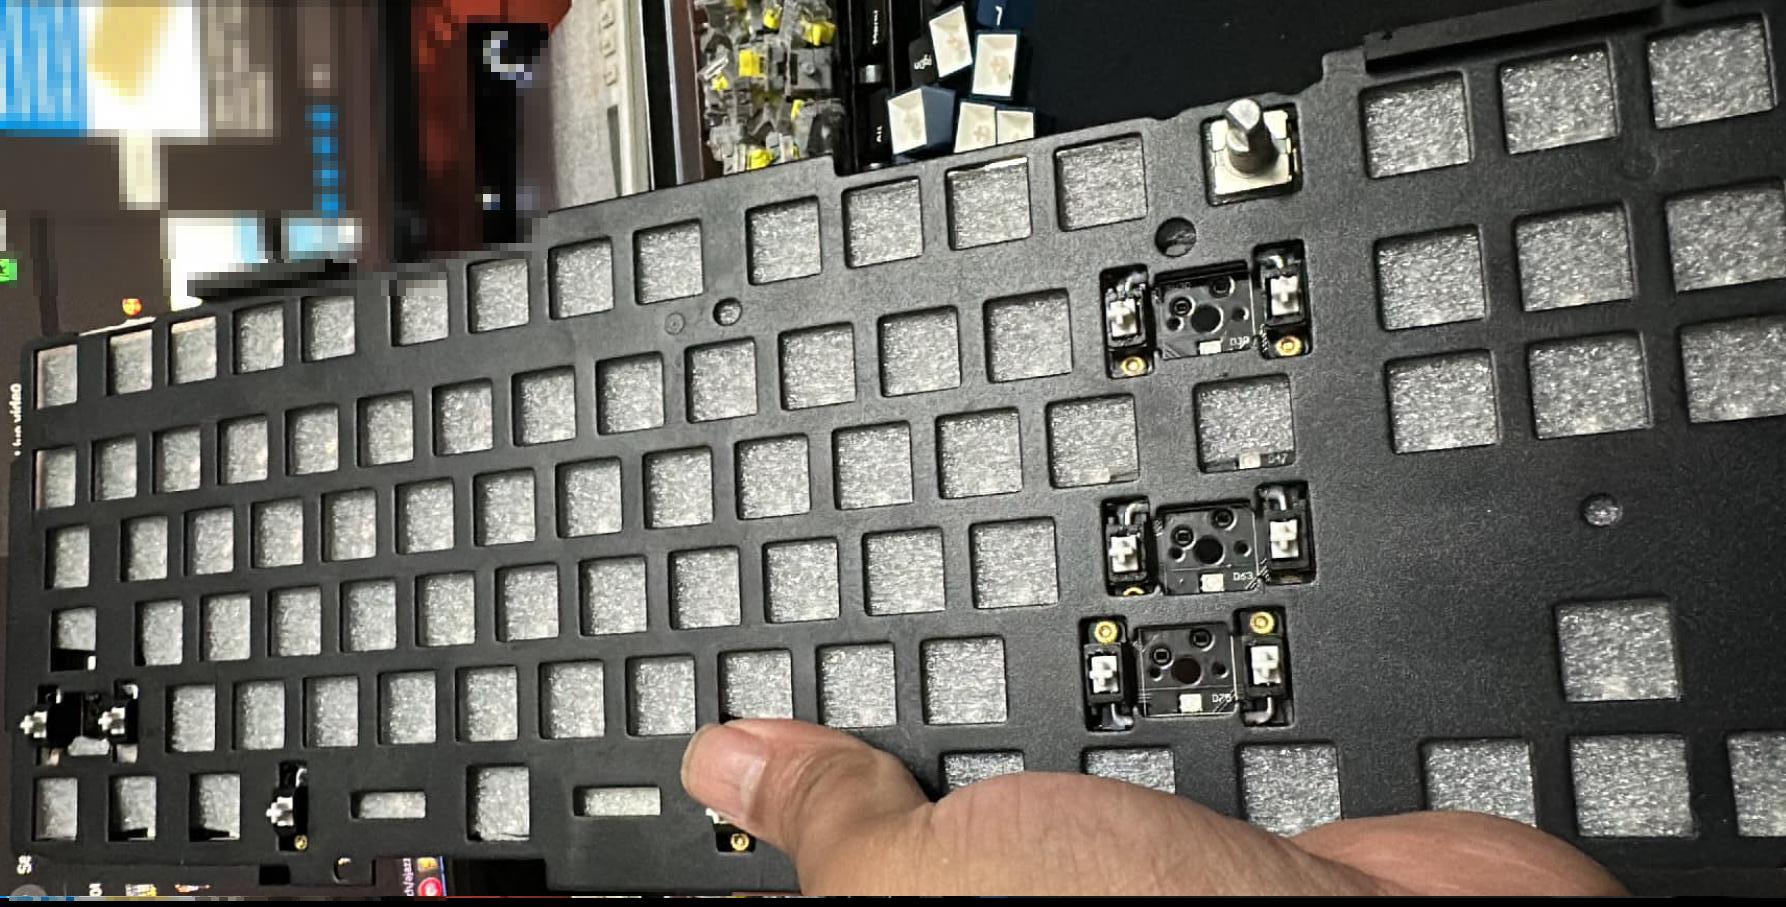
The research I did made PE foam sound like magic. Put this foam in your keyboard, get a deeper sound, everyone wins. So I bought some and cut it to fit the Q3.
I pushed the switches in. They did not click. Half the keys did not register. I assumed I had broken something expensive.
Turns out the foam I bought was too thick. The switch pins were not making contact with the PCB. I had to peel it all out, find thinner foam, and start over. The second attempt worked, but I lost an afternoon to foam thickness of all things.
The Mods That Actually Mattered
PE Foam: Once I got the thickness right, it did change the sound: less ping, more of that "thock" everyone chases. Was it worth the troubleshooting? Maybe. The difference is pretty subtle if you're not specifically listening for it.
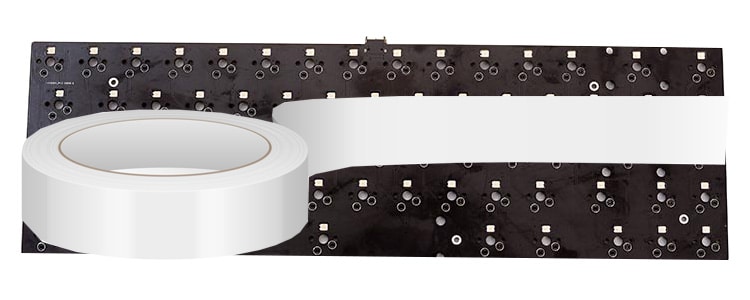
Tempest Tape Mod: Two layers of masking tape on the back of the PCB. This one actually did something noticeable. The sound got more concentrated, less hollow. Cheap, reversible, worth trying even if you hate it.
Force Break Mod: Electrical tape next to the screw holes to reduce metal-on-metal contact. I'm not convinced I can hear the difference, but it took five minutes and made me feel like I knew what I was doing.
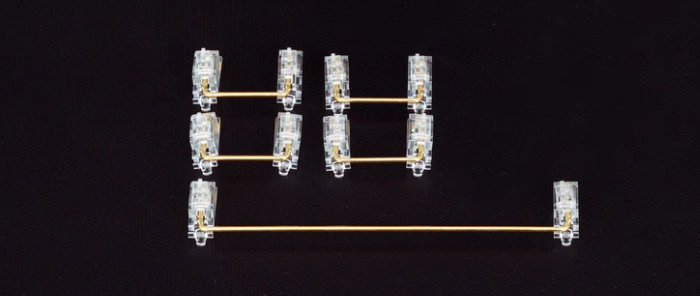
Stabilizers: These were the biggest improvement. I balanced and lubed the wires. Basically took them apart, coated the moving parts with Krytox 205g0, and put them back together. The spacebar, shift, and backspace went from sounding like rattling chains to... well, they still rattle a bit if you hit them at the wrong angle. But it's much better.
The Firmware Rabbit Hole
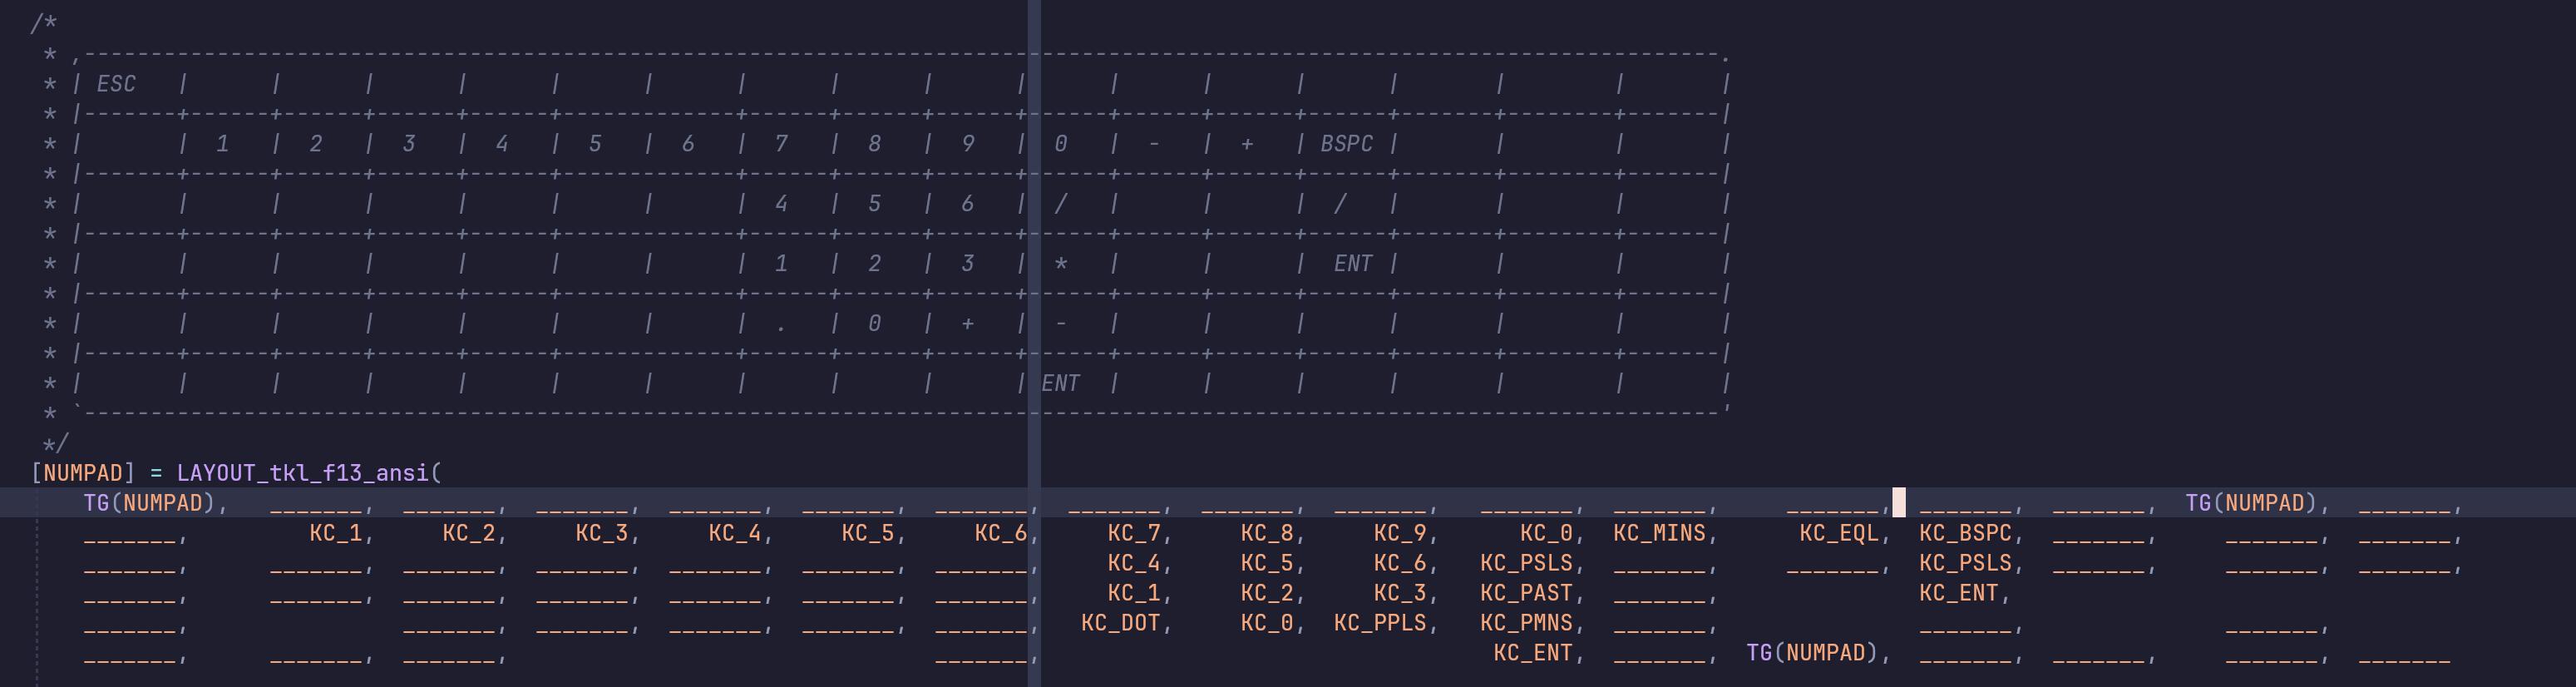
The Keychron Q3 runs QMK, which means you can reprogram every key. I set up a numpad layer on the function keys since the Q3 is tenkeyless and I occasionally need to enter a lot of numbers. I also moved Escape to where Caps Lock used to be because Vim.
What I didn't anticipate: getting the build environment set up took longer than the physical assembly. QMK's documentation is comprehensive but assumes you already know what qmk setup is supposed to do. I spent an hour figuring out why my keymap wouldn't compile before realizing I had the wrong branch checked out.
My fork with the custom keymap is here if you want to see what a barely-functional QMK config looks like.
The Result
It works. It sounds nice. The Ajazz switches feel good under my fingers. My daughter likes the colors. The spacebar still rattles a little if I hit it off-center. I will probably open it up again and relube the stabilizers at some point.
Was it worth $300 and three weekends? That depends on how you measure value. I learned that foam thickness matters more than I thought, that stabilizers are the real make-or-break component, and that switch testers are non-negotiable. I also learned that I enjoy tinkering more than I expected.
Would I do it again? Probably. There's already a voice in my head wondering what a gasket-mounted board would feel like. I should probably ignore that voice for a while.
If you're thinking about building your first custom keyboard, the /r/MechanicalKeyboards wiki is genuinely helpful, and your local keyboard community (if you have one) is even better. Just budget for a switch tester and expect to make at least one mistake with the foam. I sure did.
Comments